Prerequisites
You should have an S3 bucket that you can use as the archiving destination.Pipeline Architecture
These two Pipettes illustrate the basic configuration of a Pipeline to send telemetry data to an S3 bucket, and then restore that data and send it to Mezmo Log Analysis.Archive Pipeline
This Pipette sends Demo Log HTTP JSON data directly to a Mezmo Archive Destination for archiving in an S3 bucket. For demonstration purposes this is a two component Pipeline, but you would typically have processor groups for converting events to metrics or others to reduce log volume between the Source and the Archive Destination.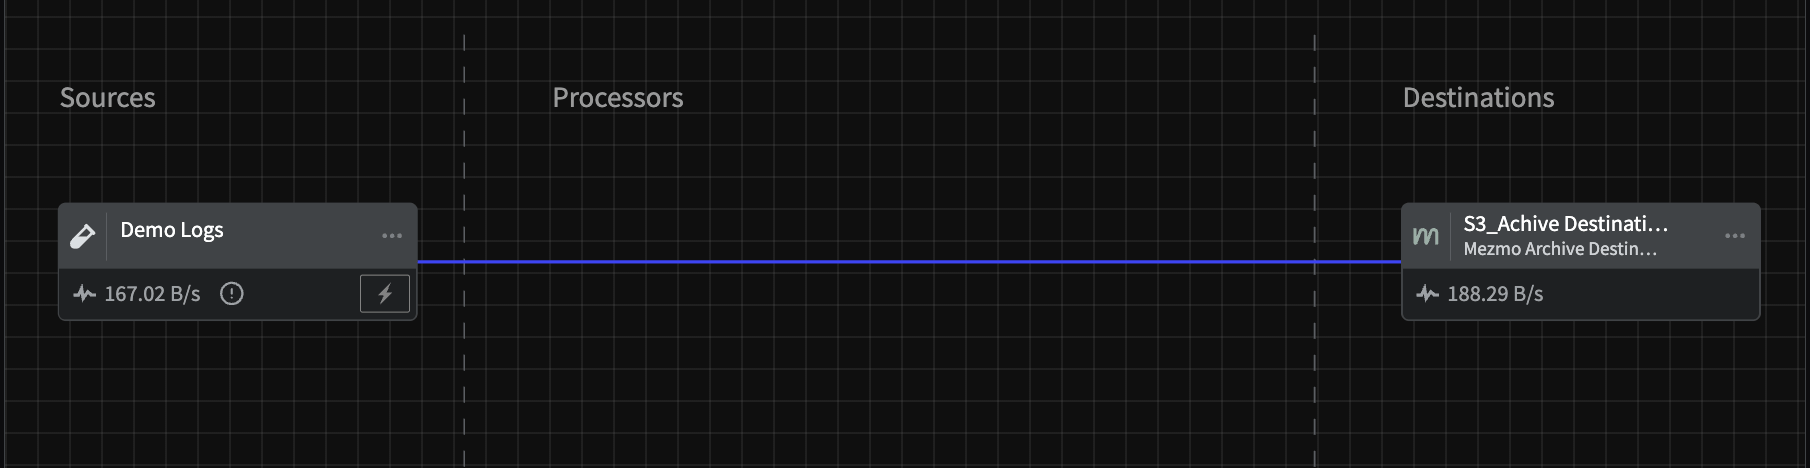
An example of sending data to an archiving destination.
Demo Logs Source Configuration
Mezmo Archive Destination Configuration
Restoration Pipeline
This Pipeline sends archived data from the Pipeline Data Restoration Source, passes it through a Filter Processor to drop data and a Map Fields Processor to make sure that the restored data conforms to the required schema for the log analysis destination, and then finally sends it to Mezmo Log Analysis. Note that this Pipeline is not active after being saved and deployed. Data will only begin to stream when the Pipeline is activated during a Restoration Task, described in the next section.
Mezmo Pipeline Data Restoration Source Configuration
There is no configuration for the Source other than giving it a Title. This is how you will identify where to send the data for the restoration task.Filter Processor Configuration
This filter is set to only send a subset of the archived data to log analysis.Map Fields Processor Configuration
This processor maps fields in the restored data to fields conform to the schema required for Mezmo Log Analysis.Mezmo Log Analysis Destination Configuration
The tags you enter in the configuration options are intended to help you easily search for restored data in the Log Viewer.
Create the Restoration Task
- In the Mezmo Web App, go to Settings > Archiving > Pipeline Restoration.
- Click New Pipeline Restoration Task.
- Enter a name for the restoration task.
- Enter the time period for the data you want to restore.
- Select the Pipeline Archive to restore data from.
- Select the Pipeline where you want to send the restored data.
- Click Start. You will see data begin to stream into the restoration pipeline, and then in your Mezmo Log Analysis viewer.