This feature is only available for customers on an Enterprise plan, and is restricted to Owner and Admin user roles. Please contact your Customer Support Manager or support@mezmo.com for more information.
Step 1: Get Your Mezmo Single Sign On URL
- In your Mezmo app go to Settings > Organization > Access Management.
- Go to SAML Configuration and copy the URL under URL for the Single Sign On Service to Consume.
- Keep this URL available since it will be used in Step 2: Configure OneLogin.
Step 2: Configure OneLogin
- Log in to your instance of OneLogin.
- Go to Applications > Applications. Then click Add App.
- In the search box, search for
SAML Custom Connector. SelectSAML Customer Connector (Advanced). - Give the connector a name and then Save.
- Select configuration from the menu in OneLogin.
- Enter the Mezmo Single Sign On Service to Consume URL from Step 1: Get Your Mezmo Single Sign On URL, into
ACS (Consumer) URL ValidatorandACS (Consumer) URL. - Select SSO from the left menu.
- Make sure the SAML Signature Algorithm is SHA-256 in the dropdown.
Step 3: SAML Configuration

Select SHA-256 from the dropdown in Okta.
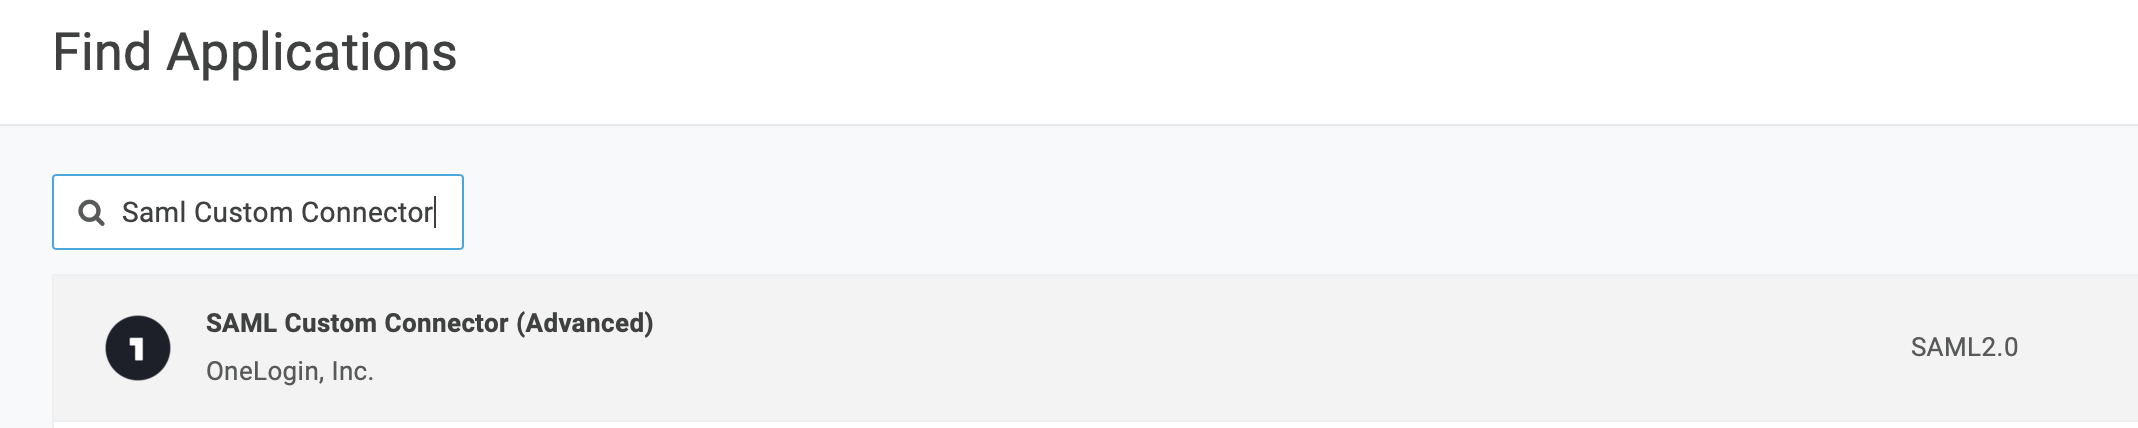
Look for SAML Custom Connector in the search for OneLogin.
Look for SAML Custom Connector in the search for OneLogin.
- In OneLogin, go to the SSO tab.
- In the More Actions dropdown, select SAML Metadata. An XML file will download.
- In your Mezmo app, go to Settings > Organization > Security.
- Toggle SAML Sign-in to on.
- In SAML Configuration upload the XML file downloaded.
- Save and your OneLogin SSO is ready to go.
Was this page helpful?